
Letter Z Craft for Preschoolers
May 29, 2026
All activities on this site require adult supervision. When using this website, you agree to our terms of use. This post may contain affiliate links. I am an Amazon Associate, a Walmart partner, and a member of other affiliate programs and I earn a commission on qualifying purchases at no extra cost to you. Please read our disclosure policy for details.
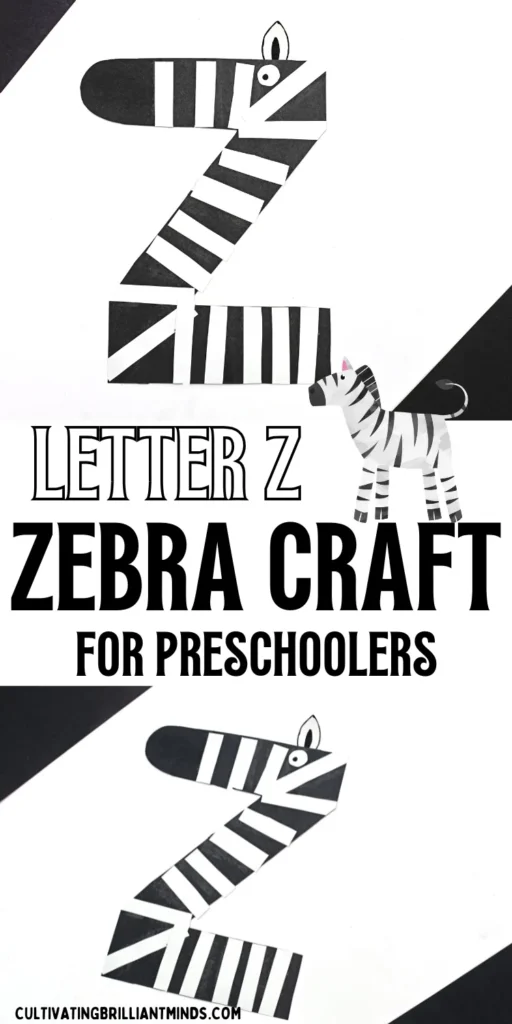
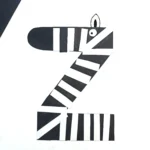
The letter Z represents one of the most recognizable animals in the natural world: the zebra. Black and white stripes, a curious face, and a connection to zoo animals make zebras a natural fit for an engaging animal alphabet craft.This letter Z craft transforms the letter Z into a striped zebra using simple shapes and a few basic craft supplies. The activity supports early literacy while building fine motor skills through cutting, gluing, and arranging shapes. The result is a striking alphabet project that works beautifully as a letter craft for preschoolers, a zoo craft, or on a classroom alphabet wall.
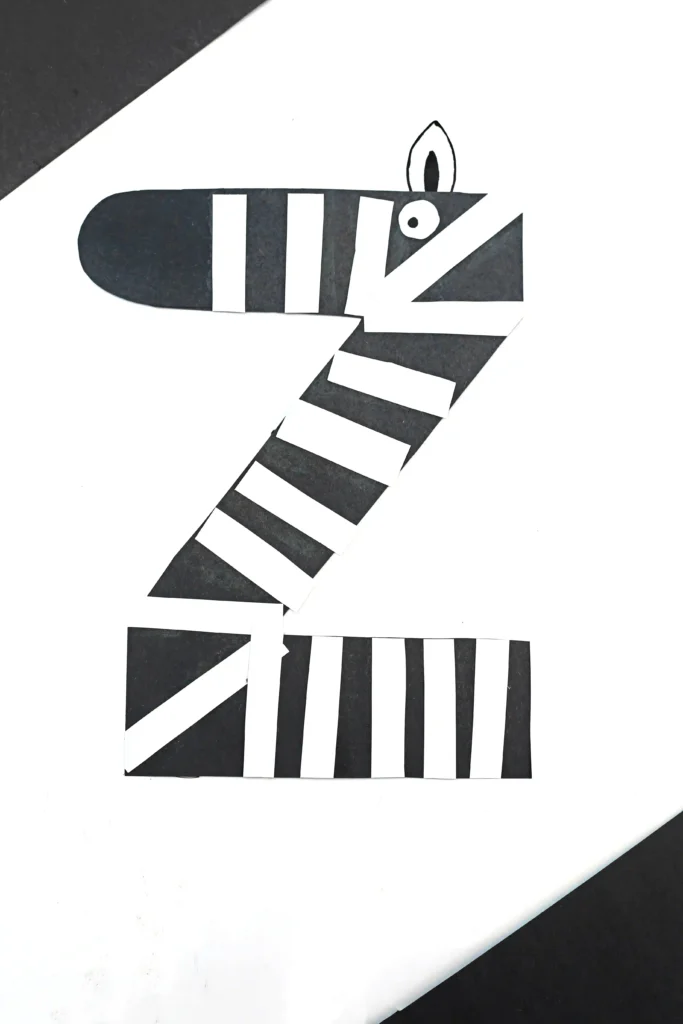
Young learners also gain an opportunity to connect letters with animals. The shape of the letter Z naturally forms the body and neck of the zebra, making the letter itself part of the animal.
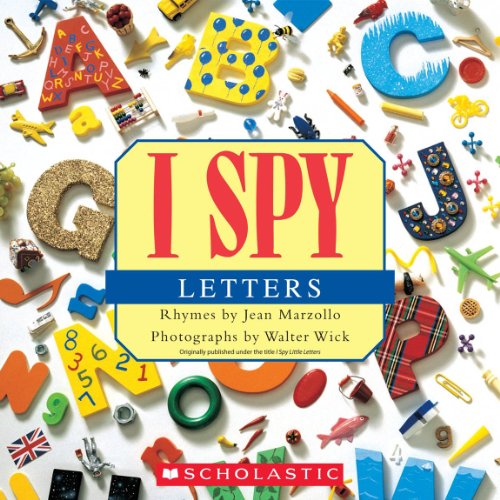
Alphabet Books For Kids



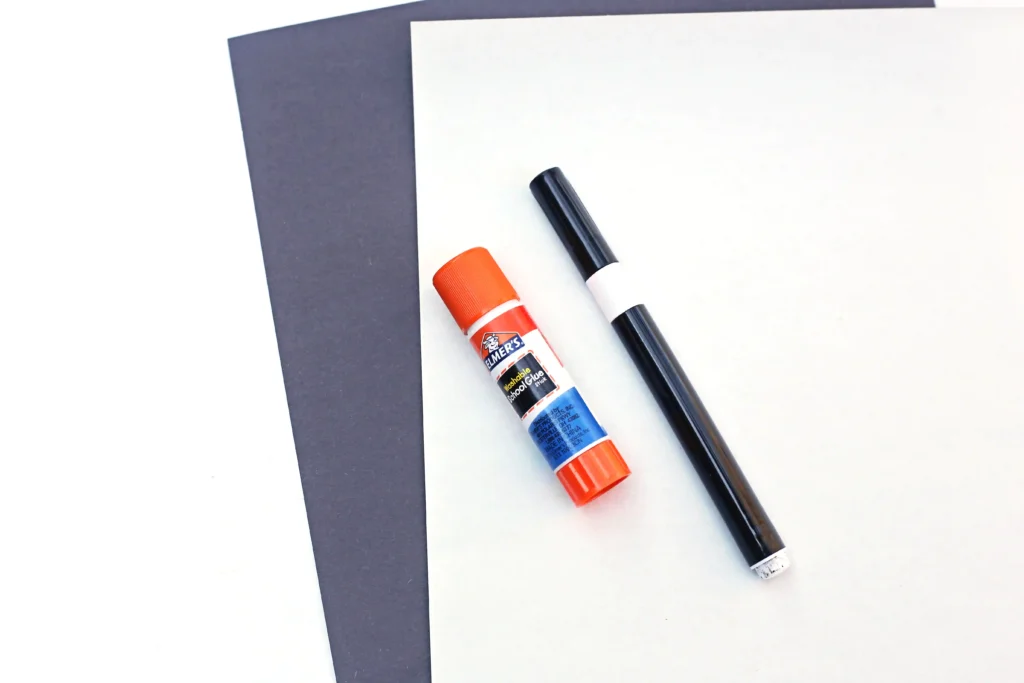
What You’ll Need For This Letter Z Craft
How to Make this Letter Z Craft
This zebra craft for kids uses easy shapes that preschoolers can cut and arrange independently with minimal assistance. Each step helps reinforce the connection between the letter Z craft and the zebra animal.
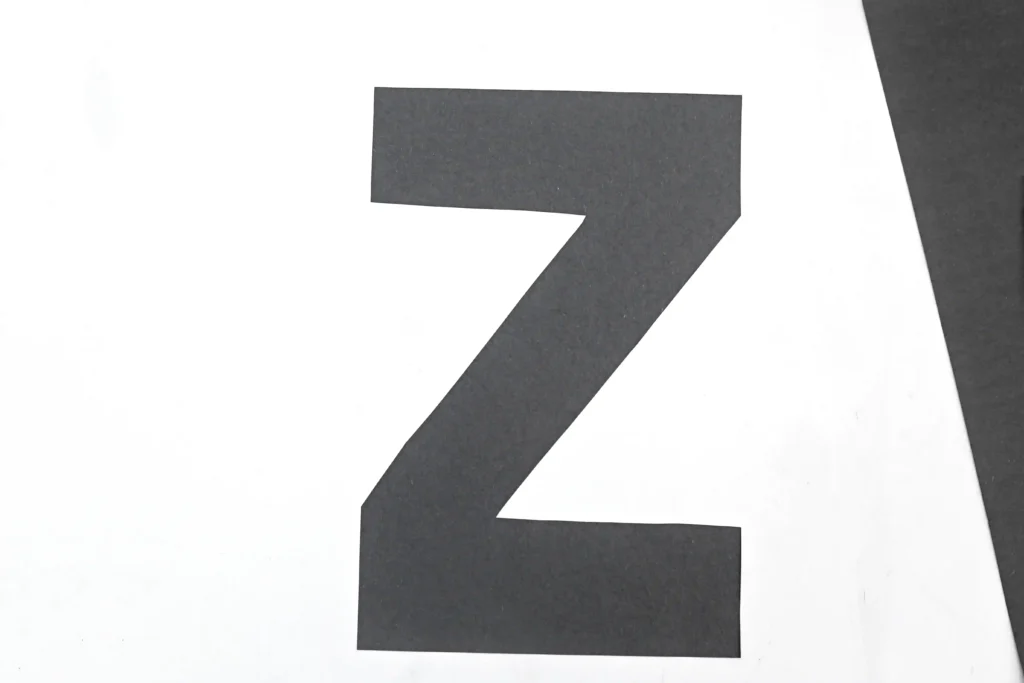
1. Cut Out the Letter Z
Start by cutting a large Z shape from black construction paper. The letter should be large enough to accommodate stripes and facial features.
2. Create the Zebra Nose
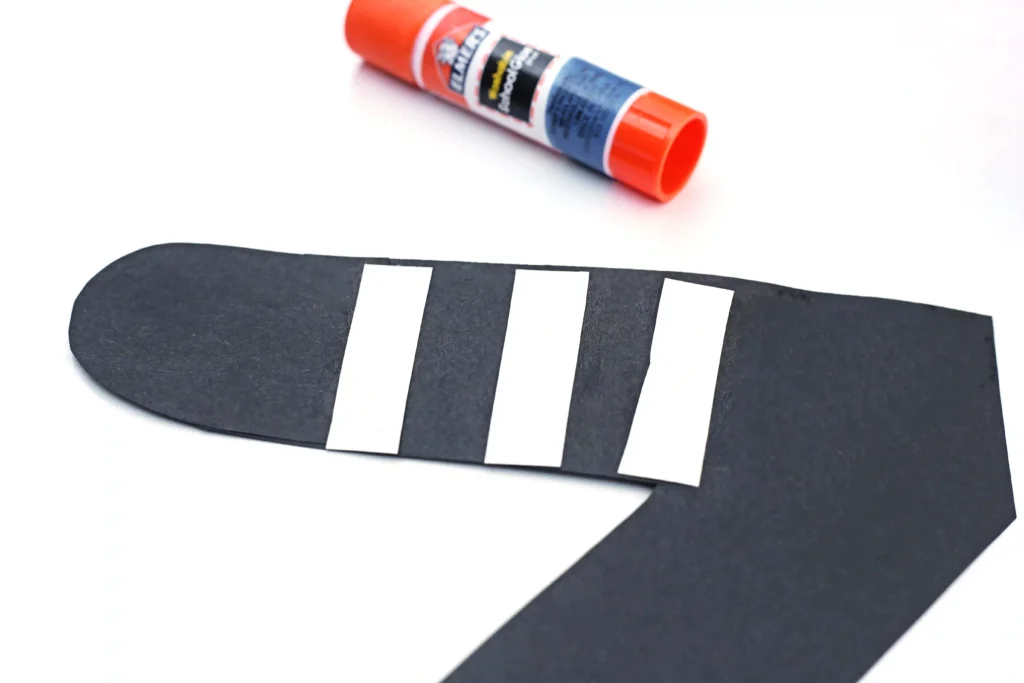
Cut a rounded half circle from black paper to form the zebra’s nose. Glue this shape to the end of the top horizontal line of the Z.
The rounded edge helps soften the sharp angles of the letter and forms the zebra’s snout.
3. Make the Zebra Stripes
Cut several rectangles from white construction paper. These pieces will represent the zebra’s famous stripes.
Glue the white rectangles across different sections of the Z. Allow the rectangles to extend past the edges of the letter.
Once the glue dries slightly, trim away any extra paper that hangs over the edges of the Z. This step creates clean zebra stripes that match the letter shape.
4. Add the Zebra Eye
Cut a small circle from white paper. Draw a pupil in the center using a black marker.
Glue the eye near the top of the Z where the zebra’s head forms. Be sure to glue it onto a black stripe so it remains visible.
The small eye gives the zebra personality while reinforcing shape recognition for young learners.
5. Create the Zebra Ear
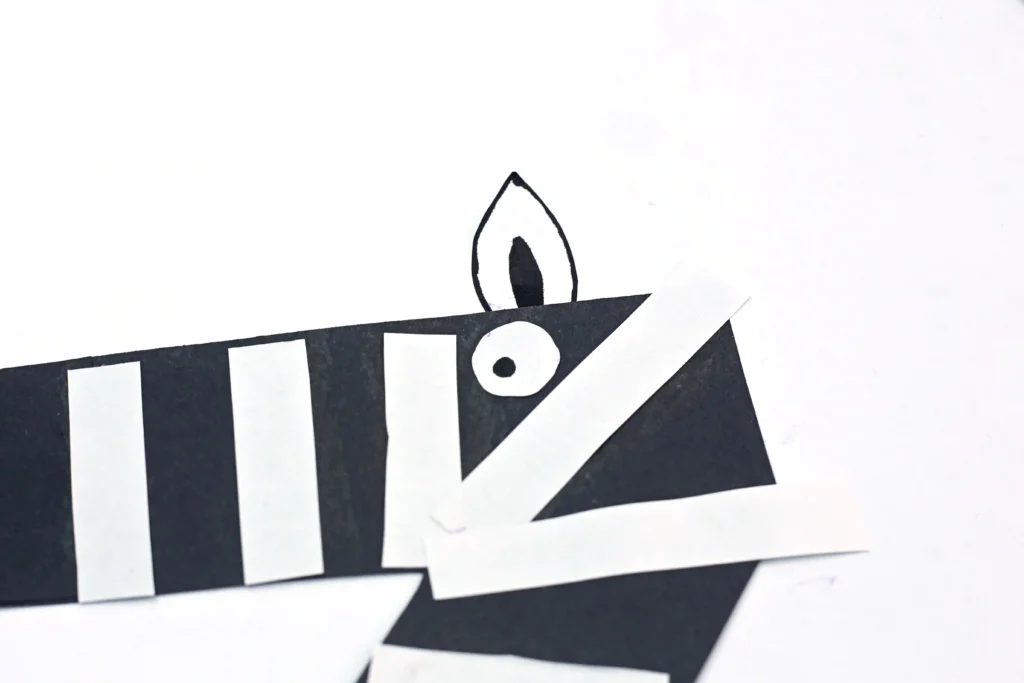
Cut an ear shape from white construction paper.
Use a black marker to outline the ear and draw the inner ear detail.
Glue the ear above the zebra’s head to complete the animal’s face.
With the ear, nose, stripes, and eye in place, the letter Z craft now looks like a striped zebra standing proudly on the page.
Why This Alphabet Craft for Preschool Works for Learning
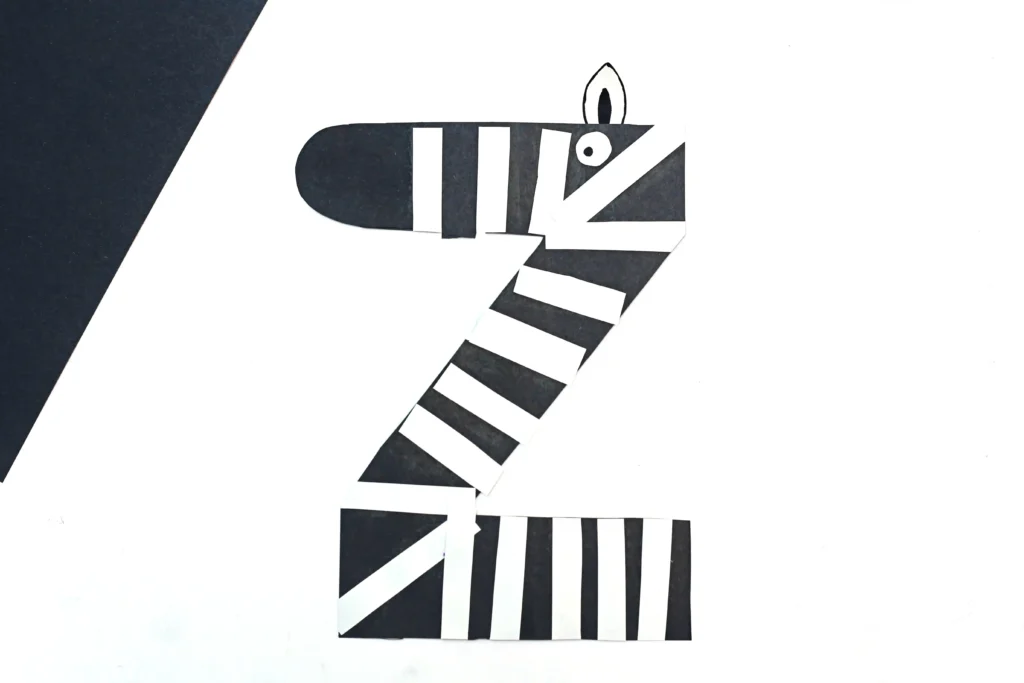
This letter Z craft supports multiple developmental skills at once. Little learners benefit from hands-on activities such as this one. A letter craft for preschoolers that connects a letter to a recognizable image offers lots of educational benefits.
Letter Recognition
The zebra body keeps the letter Z clearly visible. While decorating the Z is for zebra paper craft, children repeatedly observe the shape of the letter. This visual repetition strengthens alphabet recognition.
Fine Motor Practice
Cutting rectangles, circles, and ears provides meaningful scissor practice. Gluing and trimming shapes also strengthens hand coordination.
Shape Awareness
The Z is for zebra paper craft includes several shapes:
- Rectangles
- Circles
- Half circles
These elements introduce early geometry concepts within an art activity.
Animal and Zoo Connections
Zebras appear in many zoo craft themes and animal units. The animal alphabet craft connects learning with discussions about wildlife and habitats.
Ways to Extend This Zebra Craft for Kids
A craft activity can grow into a broader learning experience. Several simple extensions allow this zebra craft for kids to connect with literacy, science, and imaginative play.
1. Read Zebra-Themed Books
Storytime reinforces the connection between letters and animals. Books featuring zebras or zoo animals strengthen vocabulary and comprehension.
Children begin linking the letter Z sound with zebra and other Z words.
2. Zebra Stripe Exploration
Discuss zebra patterns and ask children questions:
- Why do zebras have stripes?
- Are zebra stripes the same on every animal?
- Where do zebras live?
This conversation introduces early science concepts about animals and habitats.
3. Counting Stripes Activity
Turn the craft into a math connection.
Children can:
- Count the number of zebra stripes
- Add extra stripes
- Compare stripe counts with classmates
This small addition brings counting practice into the lesson.
5. Zoo Dramatic Play
A pretend zoo center pairs perfectly with the zebra craft.
Children can:
- Pretend to be zookeepers
- Sort toy animals by habitat
- Create animal signs using alphabet letters
Now the zebra craft for kids exists as part of a larger imaginative learning space.
A Fun Letter Craft for Preschoolers
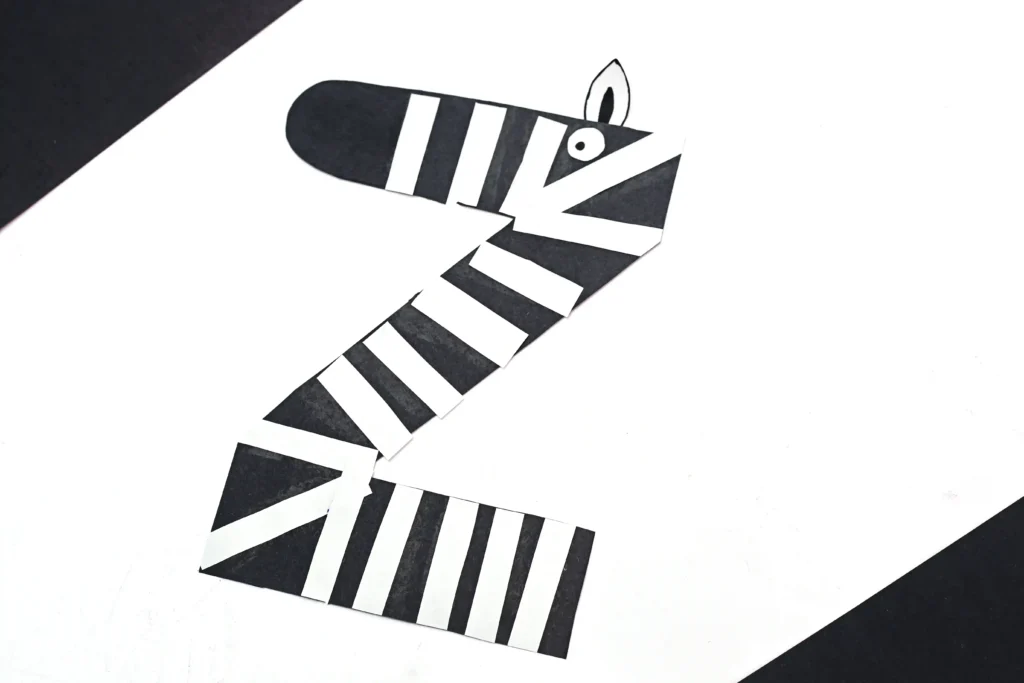
The Z is for Zebra paper craft brings the final letter of the alphabet to life with striking stripes and simple shapes. Through cutting, gluing, and arranging pieces, preschool learners build early literacy skills while recreating an animal that is familiar from zoos and storybooks. The letter itself serves as the zebra’s body, making the craft both educational and memorable for young learners exploring the alphabet.


Letter Z Craft for Preschoolers
Turn the letter Z into a striped zebra with this fun letter craft for preschoolers. It blends letter learning with a creative animal alphabet craft.
- Prep Time: 5
- Total Time: 20
- Category: Alphabet, Crafts, DIY
- Method: Step-by-Step
Materials
● Black construction paper
● White construction paper
● Child-safe scissors
● Glue stick or school glue
● Black marker
Instructions
Start by cutting a large Z shape from black construction paper. The letter should be large enough to accommodate stripes and facial features.
2. Create the Zebra NoseCut a rounded half circle from black paper to form the zebra’s nose. Glue this shape to the end of the top horizontal line of the Z.
The rounded edge helps soften the sharp angles of the letter and forms the zebra’s snout.
3. Make the Zebra StripesCut several rectangles from white construction paper. These pieces will represent the zebra’s famous stripes.
Glue the white rectangles across different sections of the Z. Allow the rectangles to extend past the edges of the letter.
Once the glue dries slightly, trim away any extra paper that hangs over the edges of the Z. This step creates clean zebra stripes that match the letter shape.
4. Add the Zebra EyeCut a small circle from white paper. Draw a pupil in the center using a black marker.
Glue the eye near the top of the Z where the zebra’s head forms. Be sure to glue it onto a black stripe so it remains visible.
The small eye gives the zebra personality while reinforcing shape recognition for young learners.
5. Create the Zebra EarCut an ear shape from white construction paper.
Use a black marker to outline the ear and draw the inner ear detail.
Glue the ear above the zebra’s head to complete the animal’s face.
With the ear, nose, stripes, and eye in place, the letter Z craft now looks like a striped zebra standing proudly on the page.


Leave a Reply