
How To Make A Letter O Craft for Preschoolers
May 25, 2026
All activities on this site require adult supervision. When using this website, you agree to our terms of use. This post may contain affiliate links. I am an Amazon Associate, a Walmart partner, and a member of other affiliate programs and I earn a commission on qualifying purchases at no extra cost to you. Please read our disclosure policy for details.
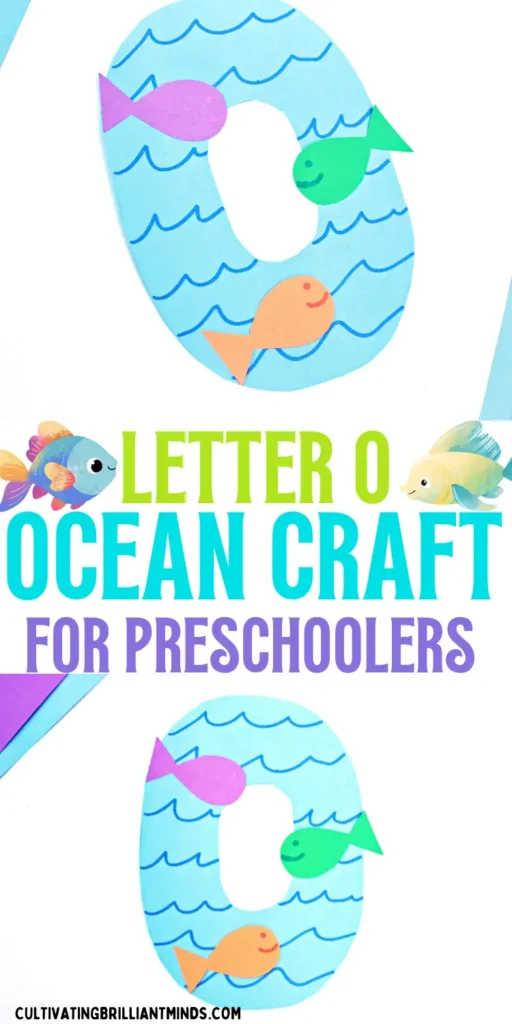
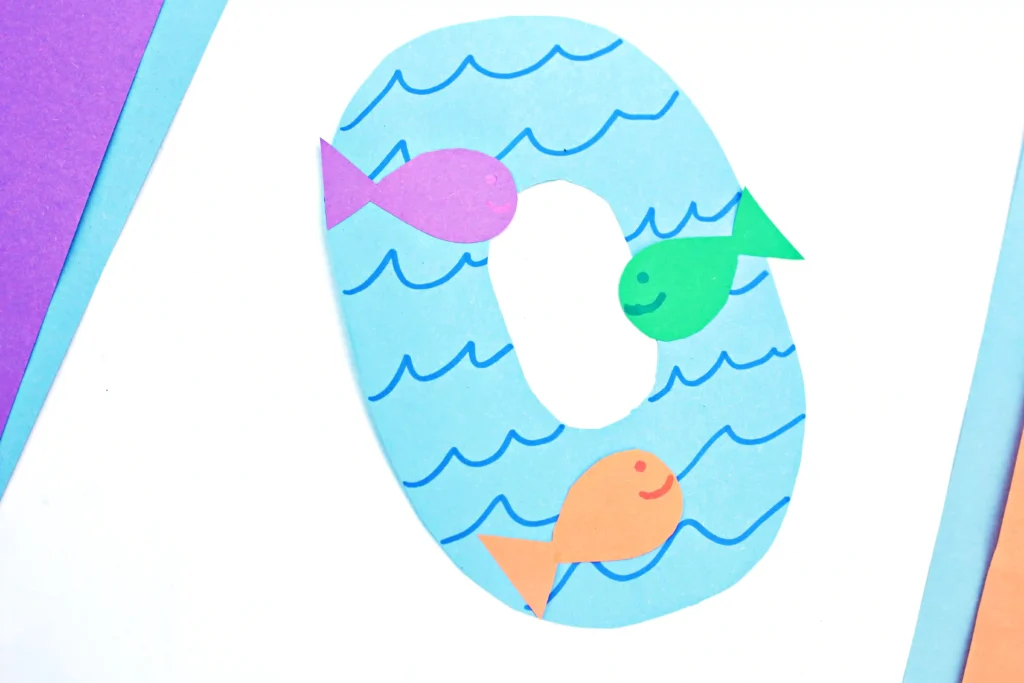
Early literacy is all about finding ways to engage kids, and this letter O craft is sure to get some attention. Kids make a light blue letter O ocean with fish swimming across its surface. This hands-on project supports fine motor development, letter recognition, and creativity in one engaging letter activity for kids.
Young learners connect the shape of the letter O with the word ocean while creating a fun underwater design. The rounded form of the O creates a natural frame for colorful fish. This letter O craft fits seamlessly into alphabet lessons, ocean units, and summer learning themes.
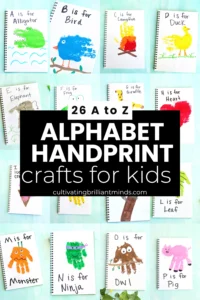
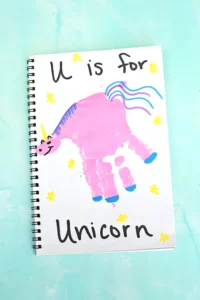
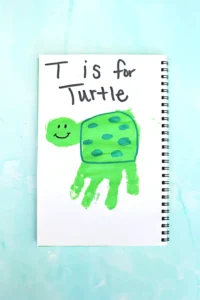
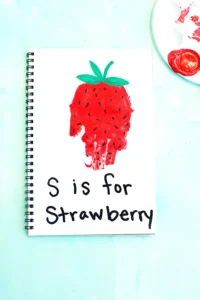
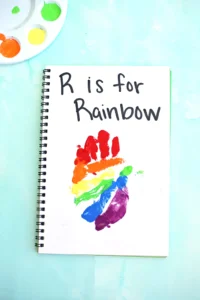
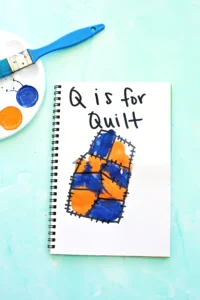
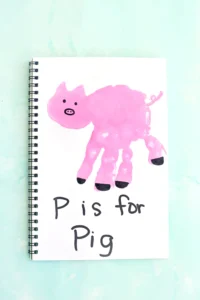
Alphabet Books For Kids



Why This Letter O Craft Supports Early Literacy
A strong alphabet foundation begins with meaningful connections. Associating the letter O with the ocean reinforces letter-sound relationships in a memorable way. When children cut, draw, and glue, multiple senses engage at once. That layered experience strengthens retention.
This letter craft for preschoolers encourages:
- Letter recognition
- Beginning sound identification
- Fine motor coordination
- Creative expression
- Vocabulary development
The rounded shape of the O offers a unique surface for decorating, which makes it ideal for an ocean craft for kids. Drawing waves and adding fish augments is an immersive learning experience.
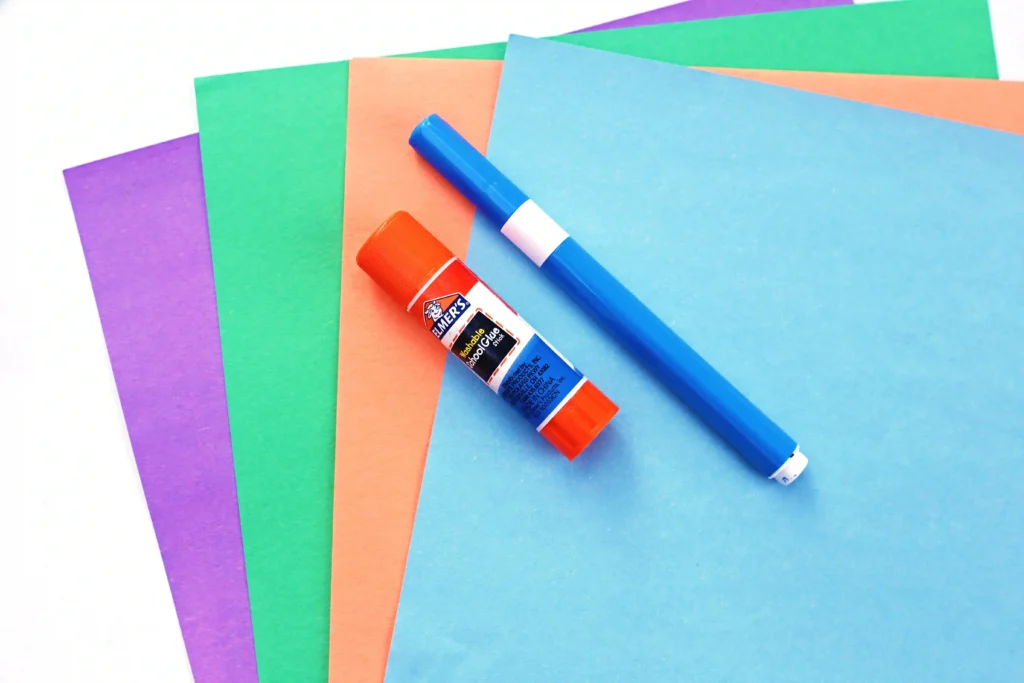
What You’ll Need For This Letter O Craft
How to Make an O is for Ocean Paper Craft
Follow these clear steps to create this ocean-inspired letter activity for kids.
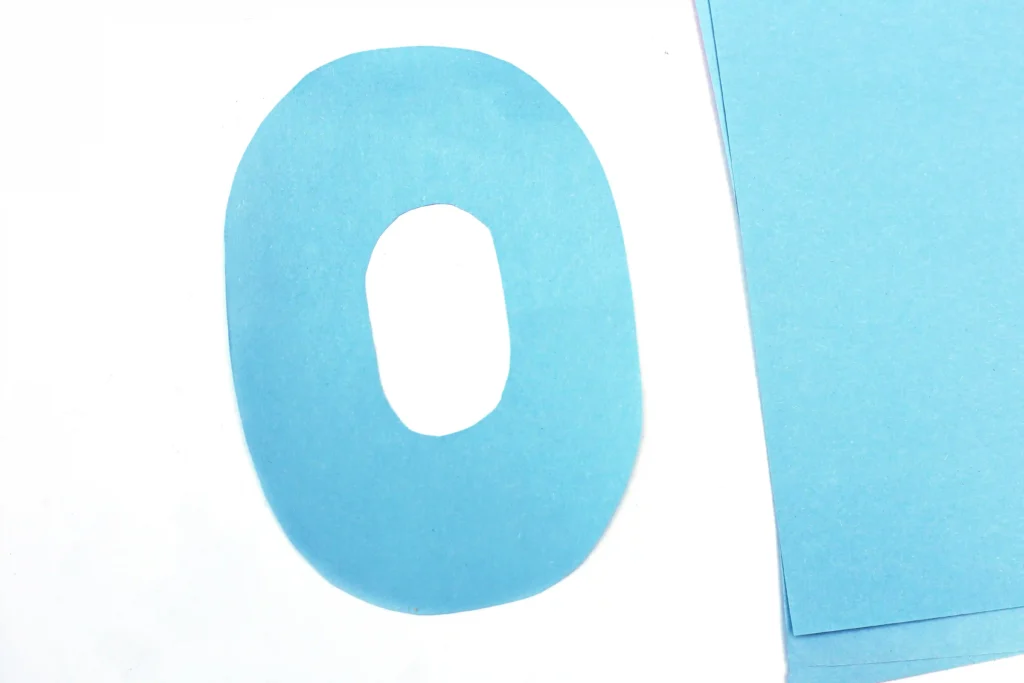
1. Cut Out the Letter O
Draw a large capital O on light blue construction paper. The O should be thick enough to decorate. Cut out the letter carefully.
For younger children, pre-cut the letter O in advance. Older preschoolers and kindergarten students may practice cutting along the lines for added fine motor skill development.
2. Draw Waves on the O
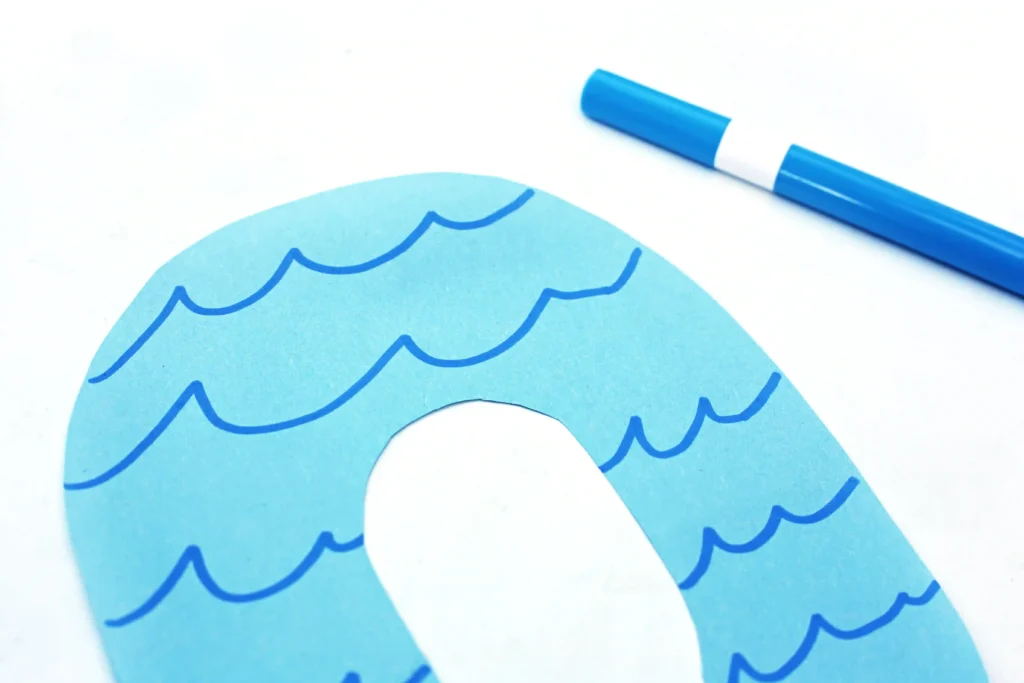
Using a dark blue marker, draw curved lines across the surface of the O to resemble ocean waves. The lines can vary in size and spacing to create a layered water effect.
Encourage children to move the marker in smooth, curved motions. This builds hand control and coordination while also functioning as an ocean themed craft.
3. Cut Out Fish Shapes
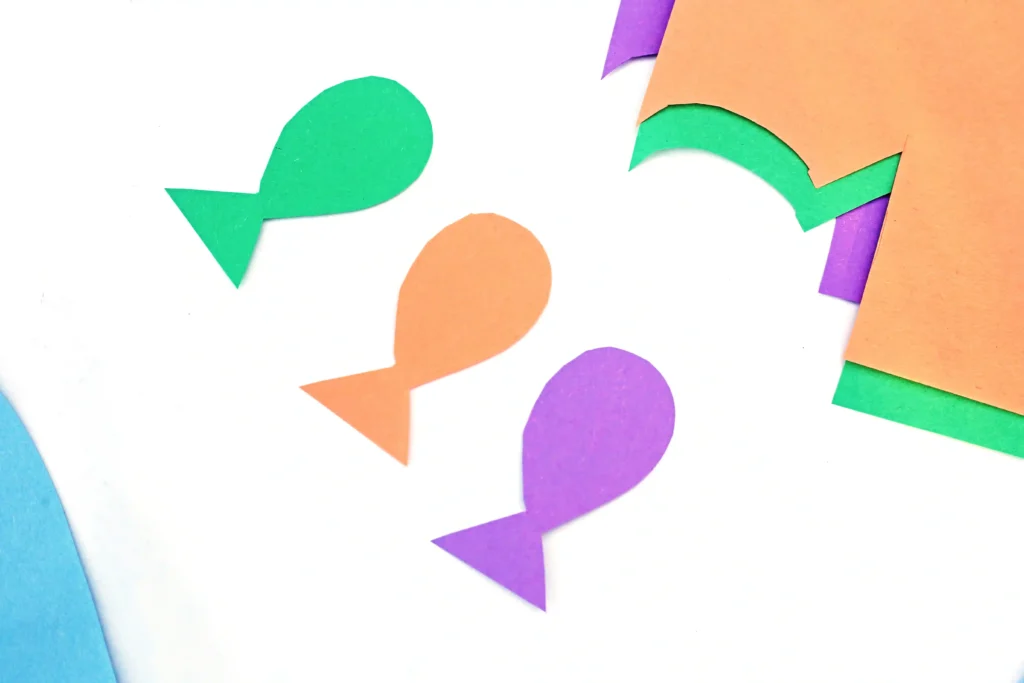
On different colors of construction paper, draw simple fish shapes. Oval bodies with triangle tails work well and are easy to cut.
Cut out several fish in various colors. This step strengthens scissor skills and allows children to experiment with shape and color choices.
4. Add Details to the Fish
Use a marker to draw eyes and smiles on each fish. Choose a darker shade of the fish’s color, or a complementary darker color. Red on an orange fish, dark green on light green, etc.
Discuss fish features such as scales, tails, and gills to introduce new vocabulary during this ocean craft for kids.
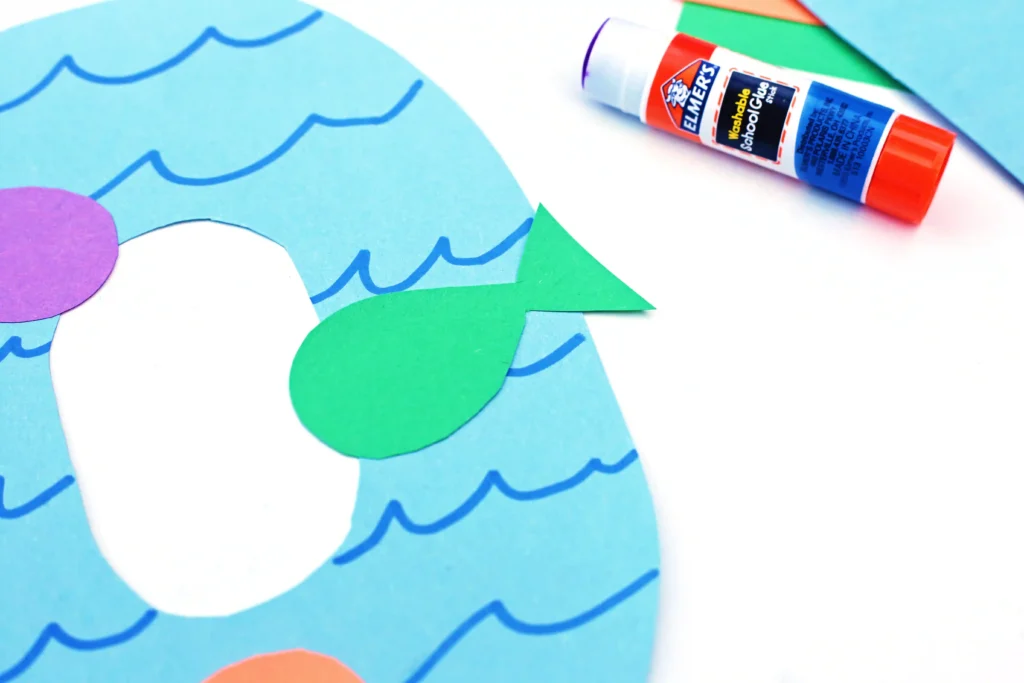
5. Glue the Fish to the Letter O
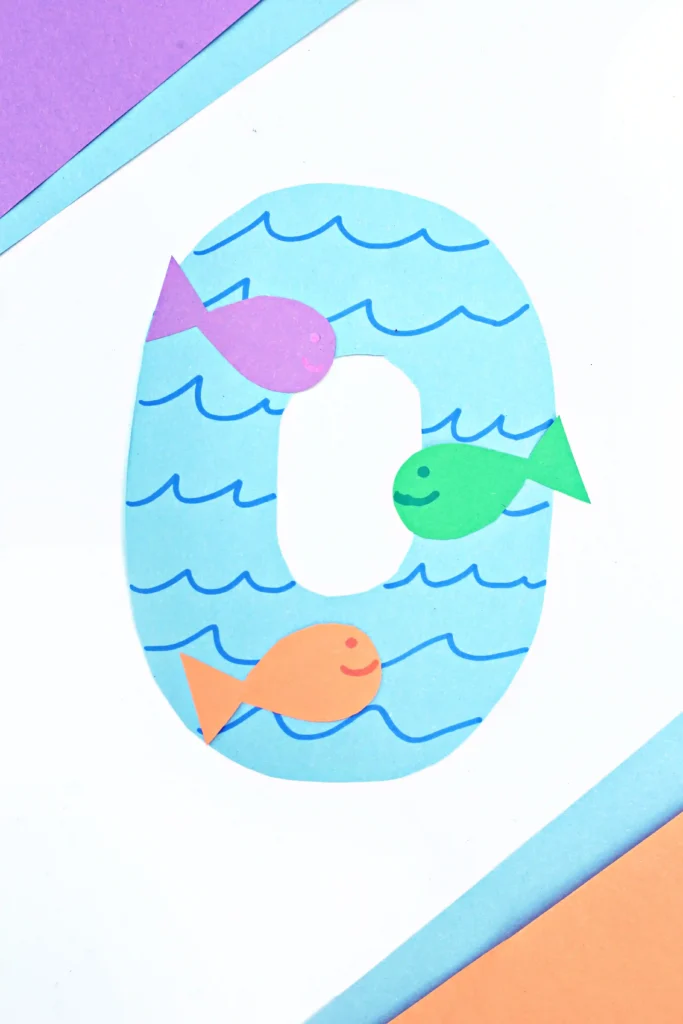
Arrange the fish around the letter O as though they are swimming through the waves. Glue each in place once satisfied with the layout.
Allow the glue to dry completely before displaying the finished project.
Classroom and Homeschool Benefits of This Ocean Craft for Kids
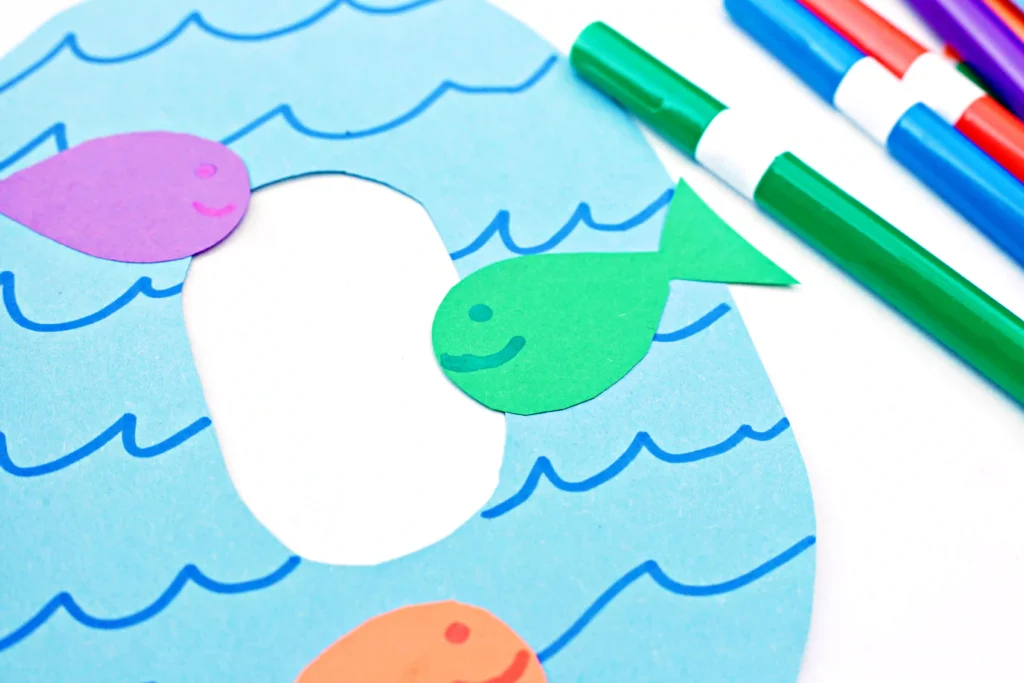
This letter O craft integrates literacy with art, which supports multifaceted learning. Visual learners see the connection between the letter and its associated word. Kinesthetic learners benefit from cutting and gluing. Auditory learners gain from discussing ocean animals and letter sounds.
In a homeschool setting, this project pairs well with ocean-themed read-aloud books or science lessons about marine life. In a classroom, the finished letters can form an alphabet wall display.
The bright fish against the cool blue background create a vibrant bulletin board piece that reinforces learning throughout the day.
Ways to Extend This Letter Activity for Kids
An alphabet project offers many opportunities for deeper exploration. Consider expanding the lesson with these ideas:
Ocean Vocabulary Exploration
Introduce words such as octopus, otter, oyster, and orca. Emphasize the beginning O sound while discussing each animal.
Sensory Writing Practice
Place sand in a shallow tray and allow children to trace the letter O with their finger. This sensory component strengthens muscle memory.
Counting and Math Integration
Add numbers to the fish and then count how many swim on each letter. Compare quantities or create simple addition problems using the fish.
Science Connection
Discuss ocean habitats and different types of fish. Explore saltwater versus freshwater environments.
Storytelling Activity
Invite children to create a short story about their fish. Where are they swimming? What are they searching for? This builds narrative skills alongside literacy.
Watercolor Variation
Instead of construction paper, paint a large O using watercolor in shades of blue. Add fish once the paint dries for a textured ocean effect.
Skill Development Through a Letter Craft for Preschoolers
This letter craft for preschoolers nurtures multiple developmental areas:
Fine Motor Skills: Cutting fish shapes and drawing wave lines refine hand strength and control.
Creativity: Children choose fish colors and wave designs.
Language Skills: Discussing ocean animals expands vocabulary.
Letter Recognition: Repeated exposure to the letter O strengthens identification.
A simple paper letter is now an engaging underwater scene that supports early education in a meaningful way.
Ocean Letter O Craft
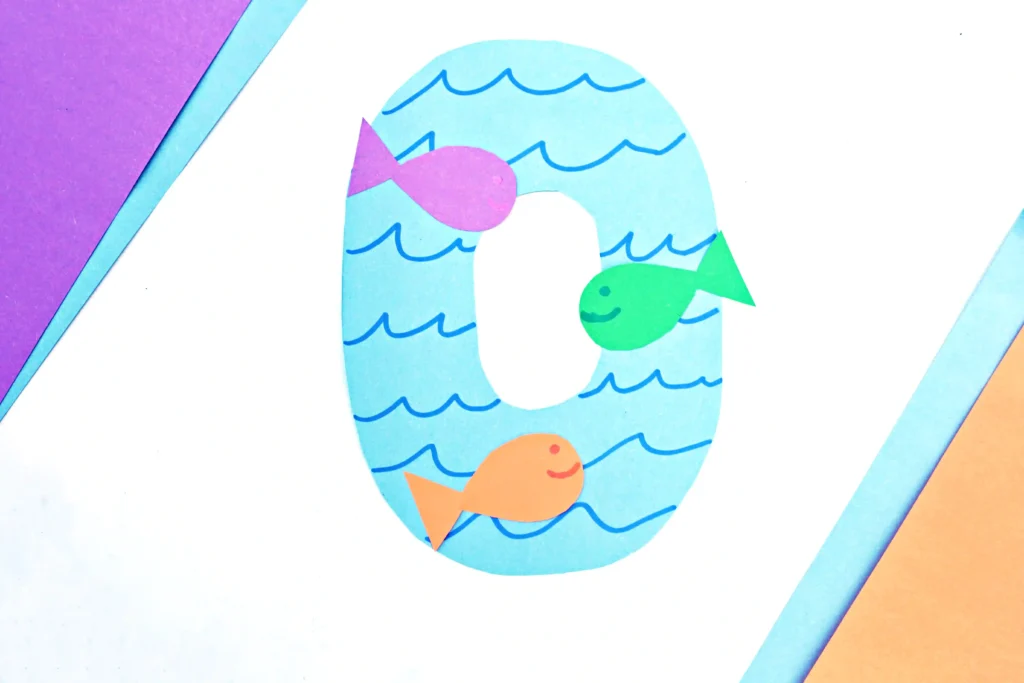
An O is for Ocean paper craft blends literacy and creativity into one cohesive project. A light blue letter O decorated with dark blue waves and colorful fish builds alphabet knowledge while inviting imagination.
This ocean craft for kids works beautifully in preschool classrooms, kindergarten lessons, or homeschool environments. The finished project reinforces the letter O while celebrating the wonders of the sea.
Hands-on alphabet learning leaves a lasting impression, and this ocean-inspired letter activity for kids supports foundational learning skills.


How To Make A Letter O Craft for Preschoolers
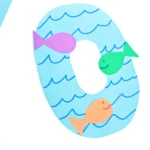
Make an O is for Ocean paper craft! This letter O craft for preschoolers builds early literacy with waves, fish, and hands-on alphabet fun.
- Prep Time: 5
- Total Time: 15
- Category: Alphabet, DIY, Summer
- Method: Step-by-Step
Materials
● Light blue construction paper
● Dark blue marker
● Assorted colored construction paper for fish
● Scissors
● Glue stick or school glue
● Markers
Instructions
Draw a large capital O on light blue construction paper. The O should be thick enough to decorate. Cut out the letter carefully.
For younger children, pre-cut the letter O in advance. Older preschoolers and kindergarten students may practice cutting along the lines for added fine motor skill development.
2. Draw Waves on the OUsing a dark blue marker, draw curved lines across the surface of the O to resemble ocean waves. The lines can vary in size and spacing to create a layered water effect.
Encourage children to move the marker in smooth, curved motions. This builds hand control and coordination while also functioning as an ocean themed craft.
3. Cut Out Fish ShapesOn different colors of construction paper, draw simple fish shapes. Oval bodies with triangle tails work well and are easy to cut.
Cut out several fish in various colors. This step strengthens scissor skills and allows children to experiment with shape and color choices.
4. Add Details to the FishUse a marker to draw eyes and smiles on each fish. Choose a darker shade of the fish’s color, or a complementary darker color. Red on an orange fish, dark green on light green, etc.
Discuss fish features such as scales, tails, and gills to introduce new vocabulary during this ocean craft for kids.
5. Glue the Fish to the Letter OArrange the fish around the letter O as though they are swimming through the waves. Glue each in place once satisfied with the layout.
Allow the glue to dry completely before displaying the finished project.



Leave a Reply