

Elf Christmas Card
October 30, 2026
All activities on this site require adult supervision. When using this website, you agree to our terms of use. This post may contain affiliate links. I am an Amazon Associate, a Walmart partner, and a member of other affiliate programs and I earn a commission on qualifying purchases at no extra cost to you. Please read our disclosure policy for details.
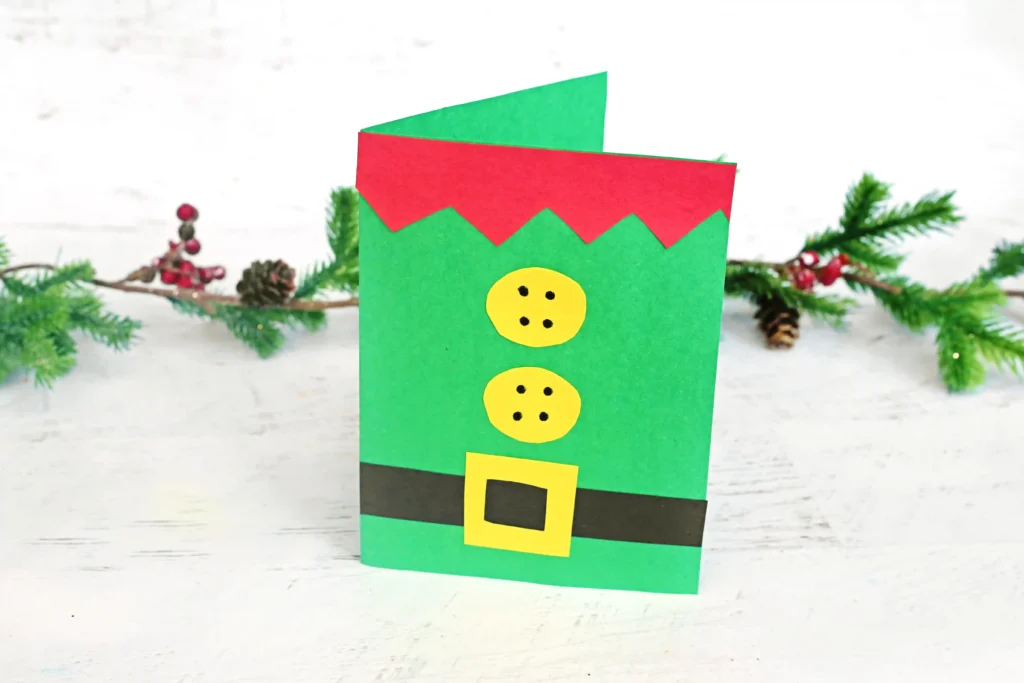
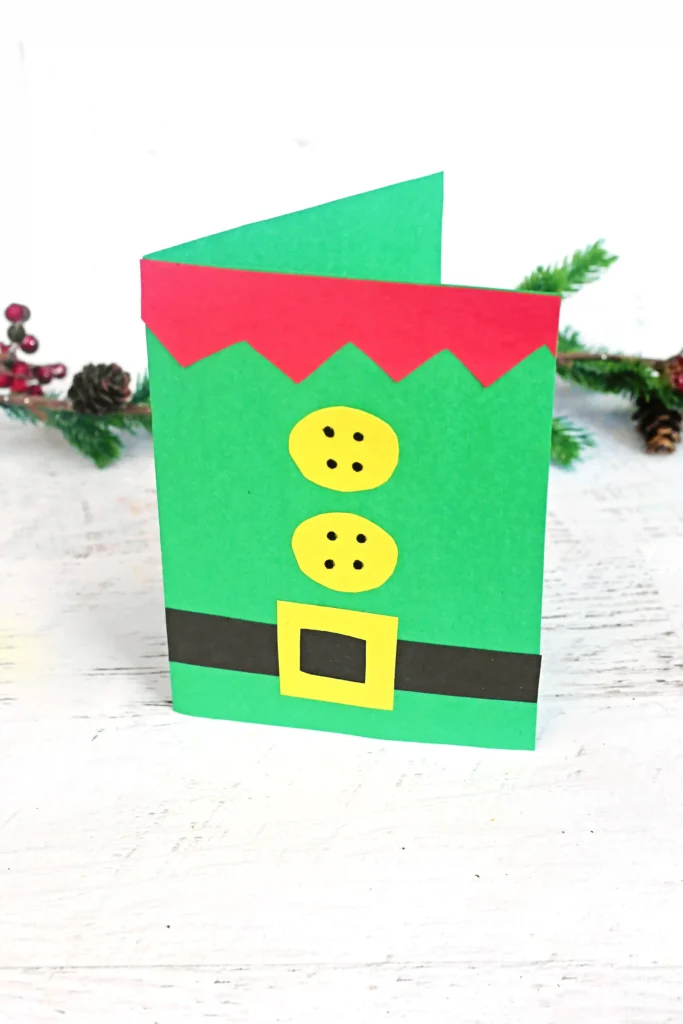
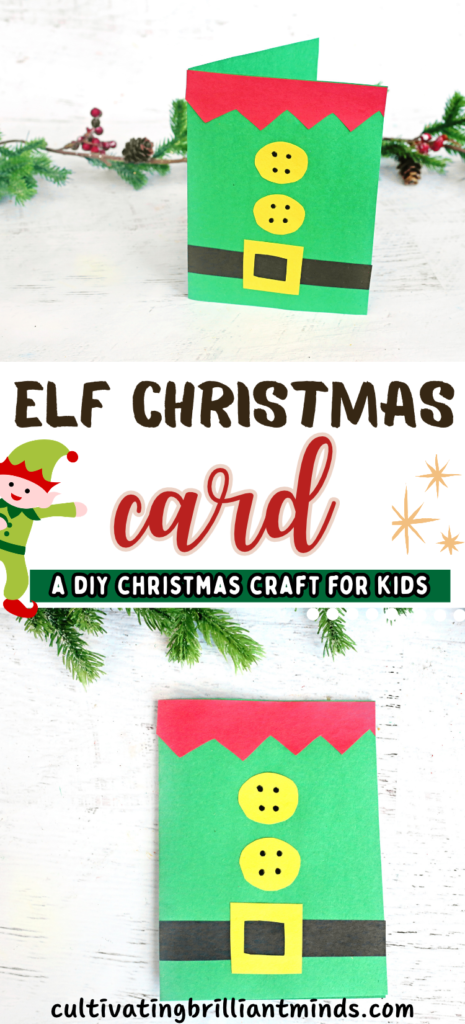
Grab your construction paper because we are making the most adorable elf Christmas card! Can you believe this adorable elf card is only made out of construction paper? Kids can make their very own DIY Christmas card to gift to friends and family.
And, if you’re looking for more Christmas card ideas, try this handprint Christmas card! Kids use multiple handprints to create an adorable tree decorated with pom poms.
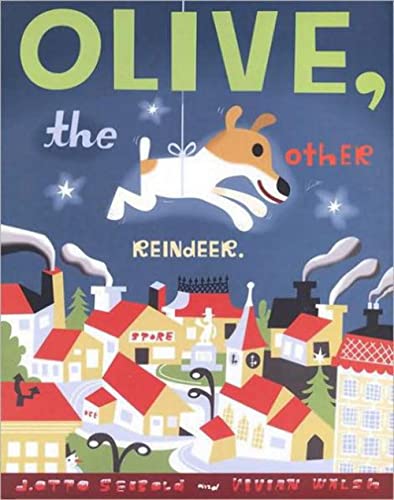
Christmas Books For Kids


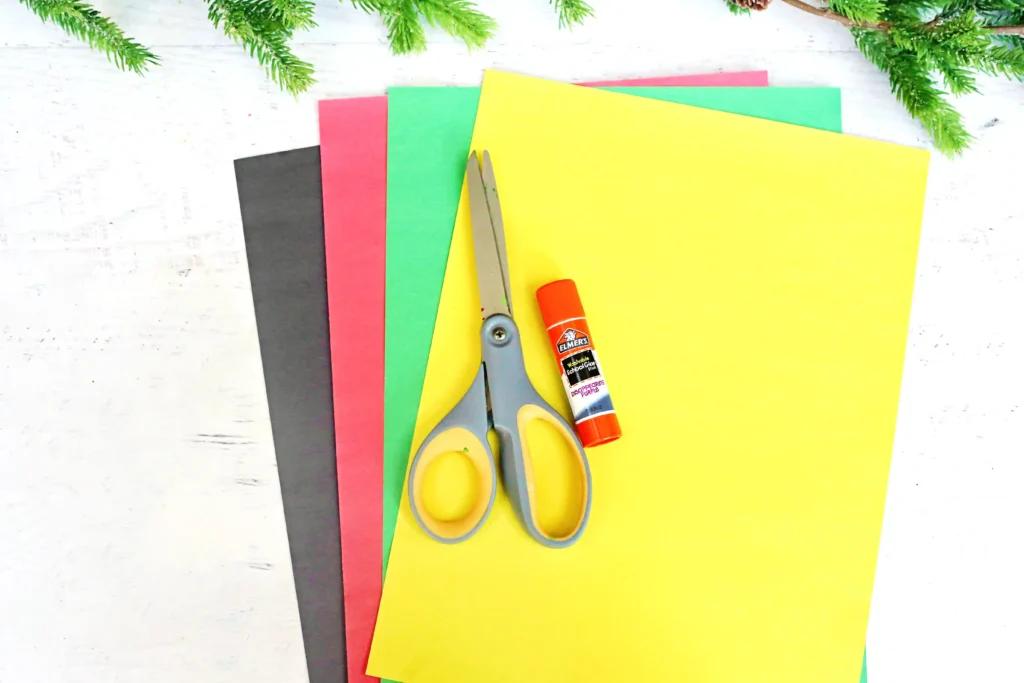
What You’ll Need For This Elf Christmas Card
Join the List
Subscribe
How To Make This Elf Christmas Card
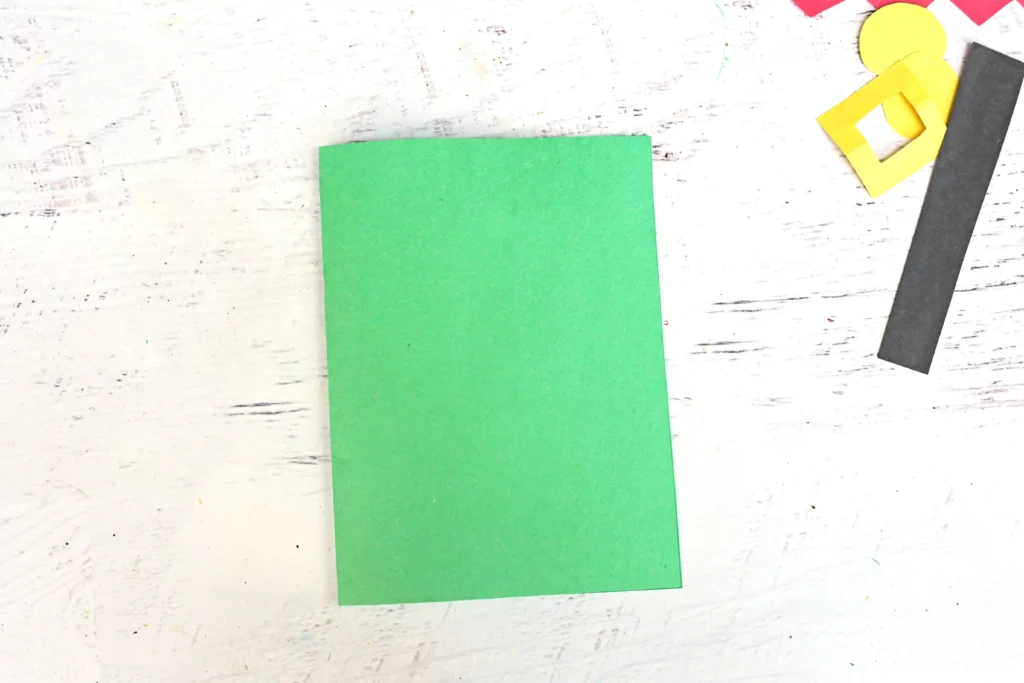
1. Cut a piece of green construction paper down to your preferred card size.
2. Fold the green paper in half to create the card.
3. Cut a strip of red construction paper and trim the bottom into zigzag points to create the elf’s collar.
4. Cut out two circles from the construction paper for the buttons.
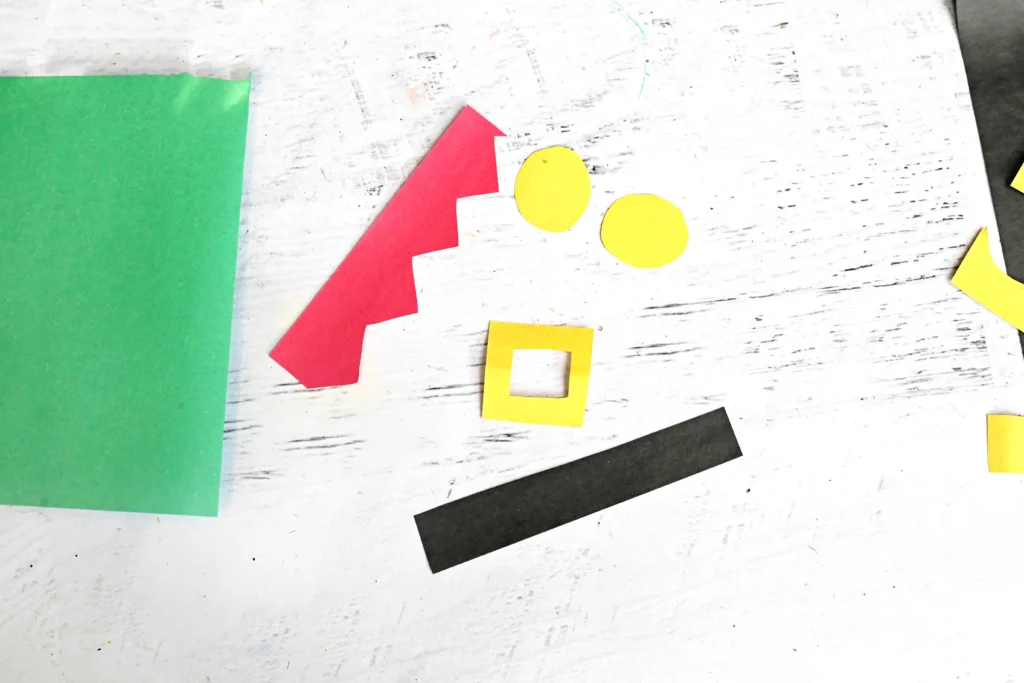
5. Cut out a black rectangle for the belt.
6. Cut a yellow square for the belt buckle. Make it a little bit taller than the black rectangle belt. Cut out the inside of the square. It’s easiest to fold the square and snip the middle with scissors. Then, open it up and cut out the middle.
7. Glue the red collar near the top of the card.
8. Use a black marker to add four small dots to each button.
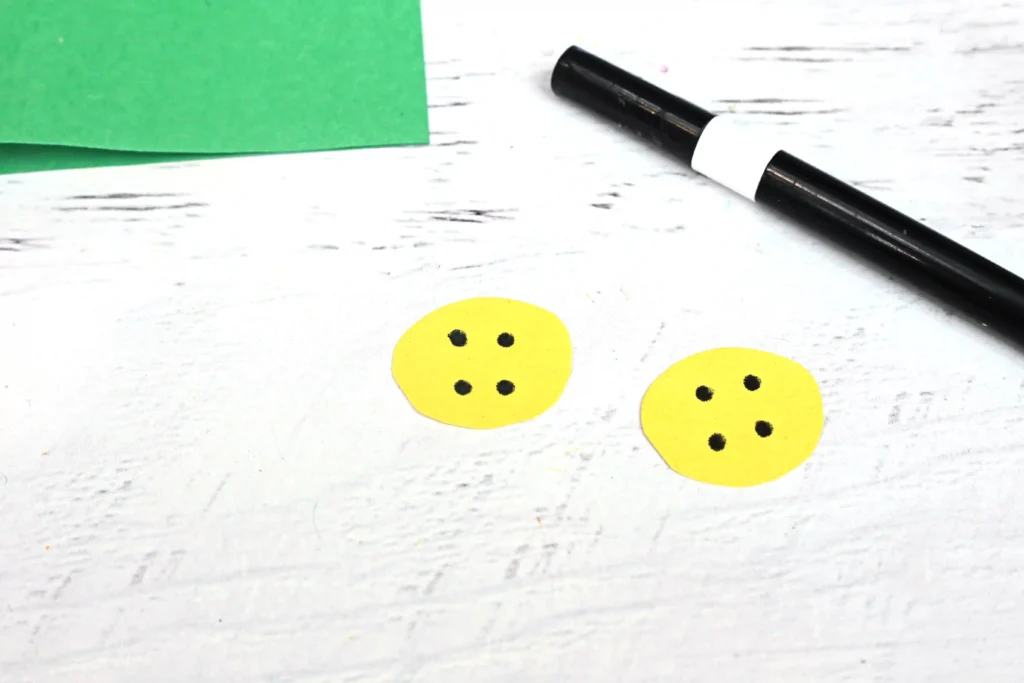
9. Glue the two yellow circles below the collar.
10. Glue the black belt across the bottom portion of the card.
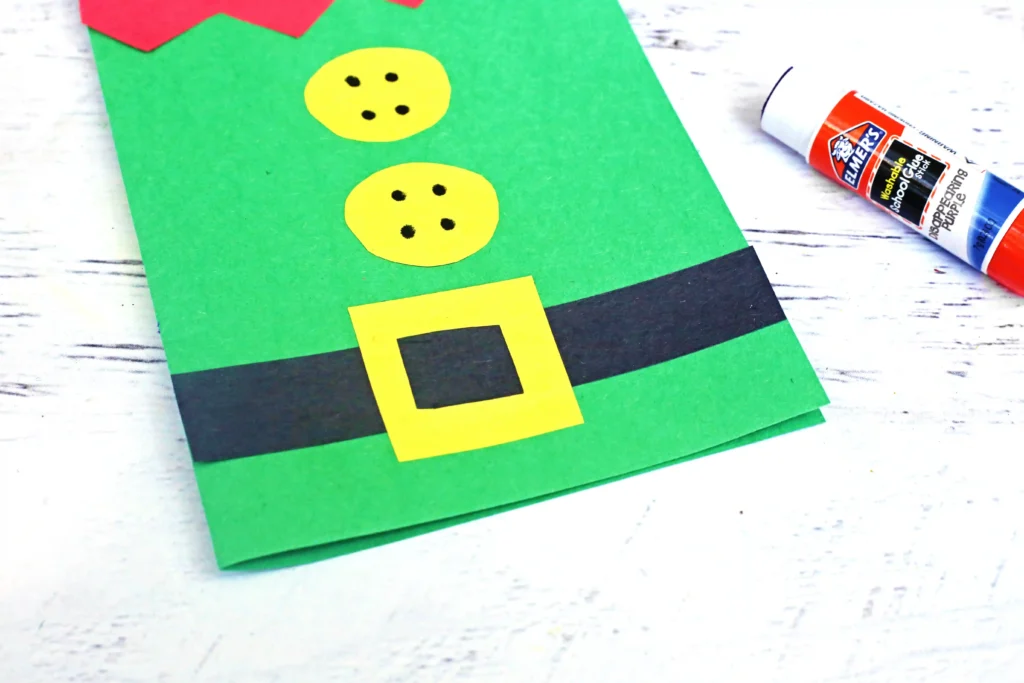
11. Attach the yellow belt buckle to the center of the black belt.
More Christmas Ideas
10+ Christmas Sensory Activities
15+ Popsicle Stick Christmas Crafts
PrintElf Christmas Card
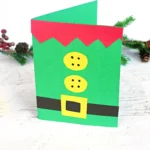
Make a DIY elf Christmas card with kids! An easy handmade holiday craft using paper and simple supplies, perfect for gifts and sharing cheer.
- Prep Time: 15
- Total Time: 15
- Category: Christmas, DIY
- Method: Step-by-Step
Materials
- Green construction paper
- Red construction paper
- Yellow construction paper
- Black construction paper
- Scissors
- Glue stick
- Black marker
Instructions
- Cut a piece of green construction paper down to your preferred card size.
- Fold the green paper in half to create the card.
- Cut a strip of red construction paper and trim the bottom into zigzag points to create the elf’s collar.
- Cut out two yellow circles for the buttons.
- Cut a black rectangle for the belt.
- Cut a yellow square for the belt buckle. Cut out the inside of the square.
- Glue the red collar near the top of the card.
- Use a black marker to add four small dots to each button.
- Glue the two yellow circles below the collar.
- Glue the black belt across the bottom portion of the card.
- Attach the yellow belt buckle to the center of the black belt.





Leave a Reply