
Letter O Handprint Craft
August 2, 2026
All activities on this site require adult supervision. When using this website, you agree to our terms of use. This post may contain affiliate links. I am an Amazon Associate, a Walmart partner, and a member of other affiliate programs and I earn a commission on qualifying purchases at no extra cost to you. Please read our disclosure policy for details.
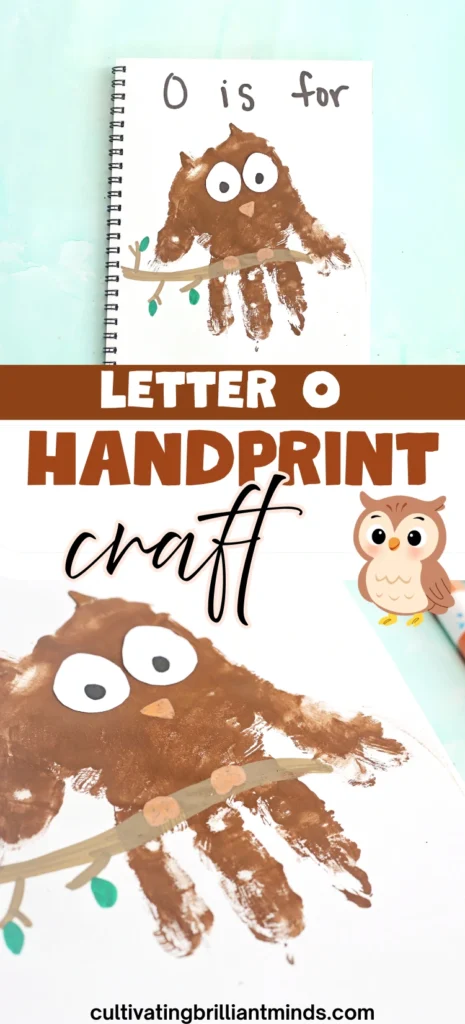
Learning the alphabet can be a creative experience, combining art and literacy. This letter O handprint craft involves painting, cutting, gluing, and drawing; all in one engaging activity. As children create a friendly owl from a paint handprint, they also strengthen letter recognition and practice fine motor skills.
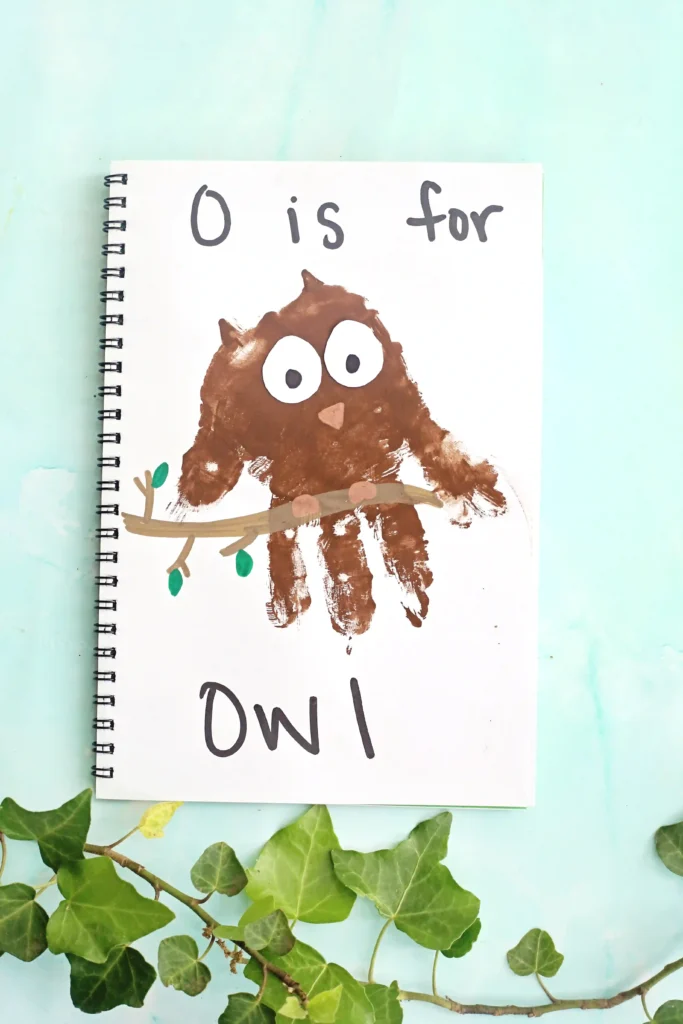
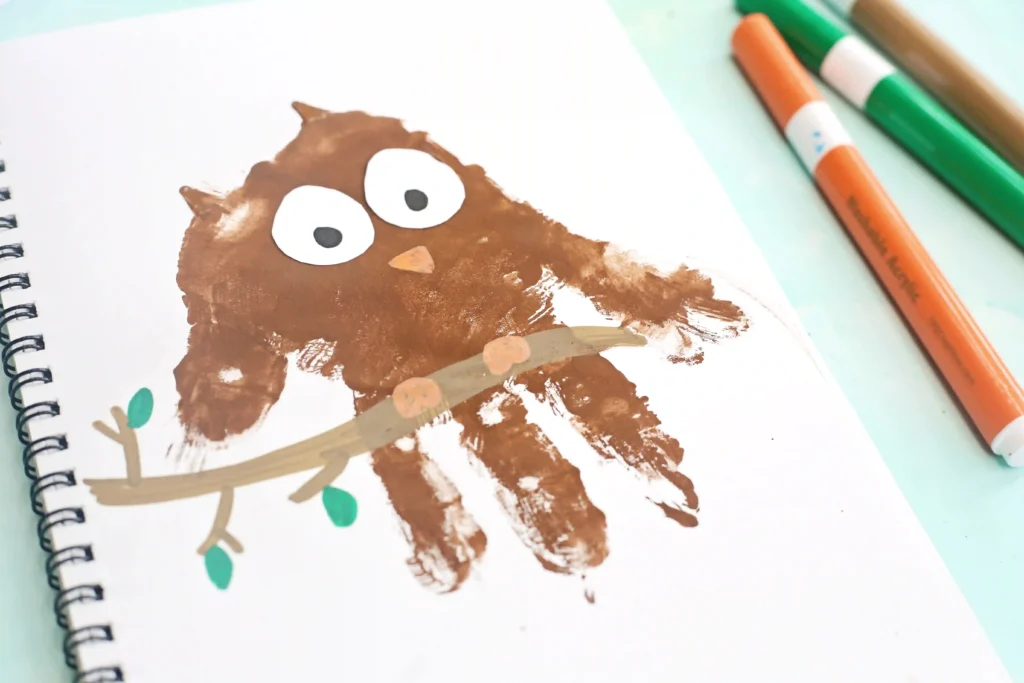
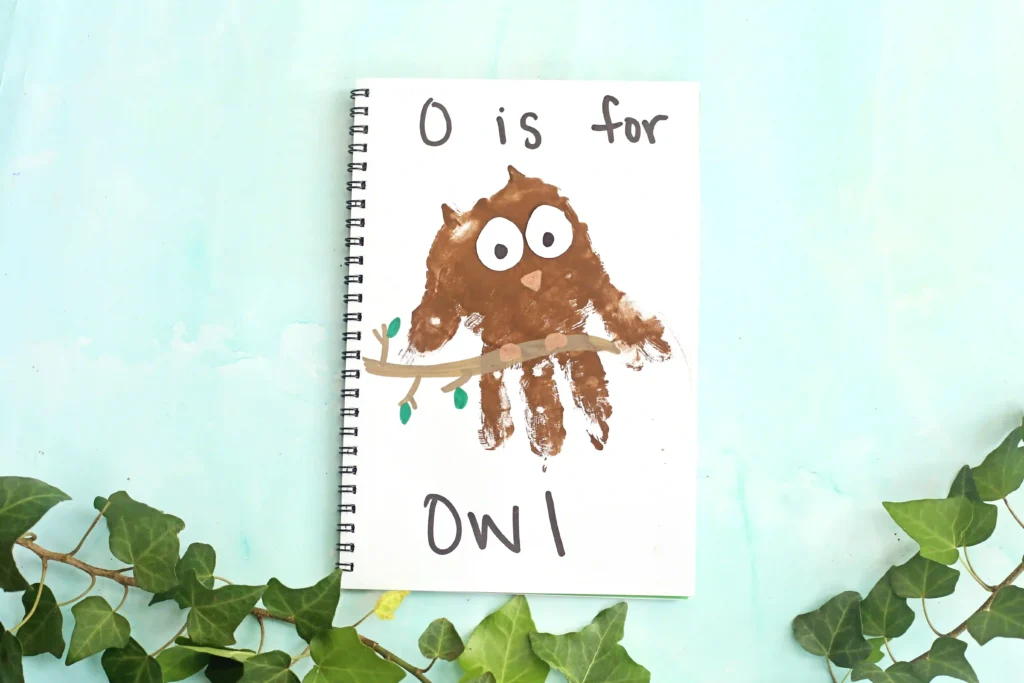
This letter O handprint craft transforms a simple handprint into an owl perched on a branch. Brown paint forms the owl’s body, with paper circles for his large owl eyes. A drawn branch with leaves completes the scene, making this an excellent owl craft for kids.
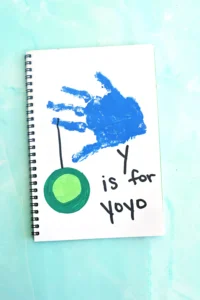
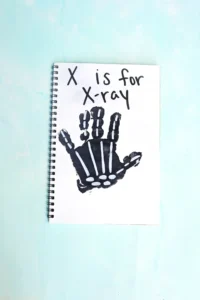
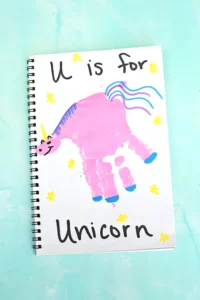
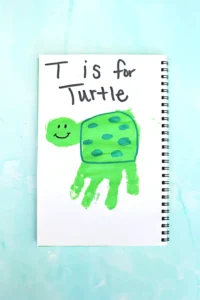
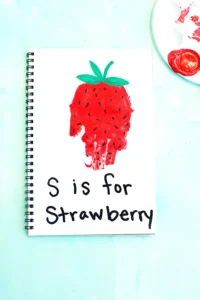
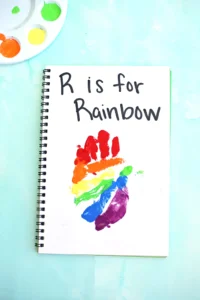
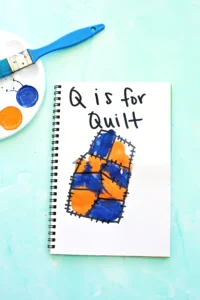
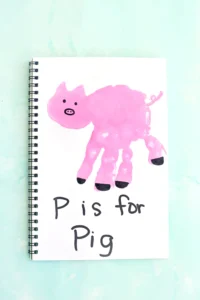
Alphabet Books For Kids



Why Try This Letter O Handprint Craft?
Handprint projects bring a personal touch to learning. Each finished owl is unique because every handprint is different. This activity helps children connect the letter O with a familiar woodland animal.
The alphabet craft for kids combines art and early literacy in a way that encourages participation. Painting, stamping, and decorating all contribute to creating a finished project that children can proudly display.
Whether used at home, in a classroom, or during a homeschool lesson, this handprint art activity fits well into any alphabet-themed study.
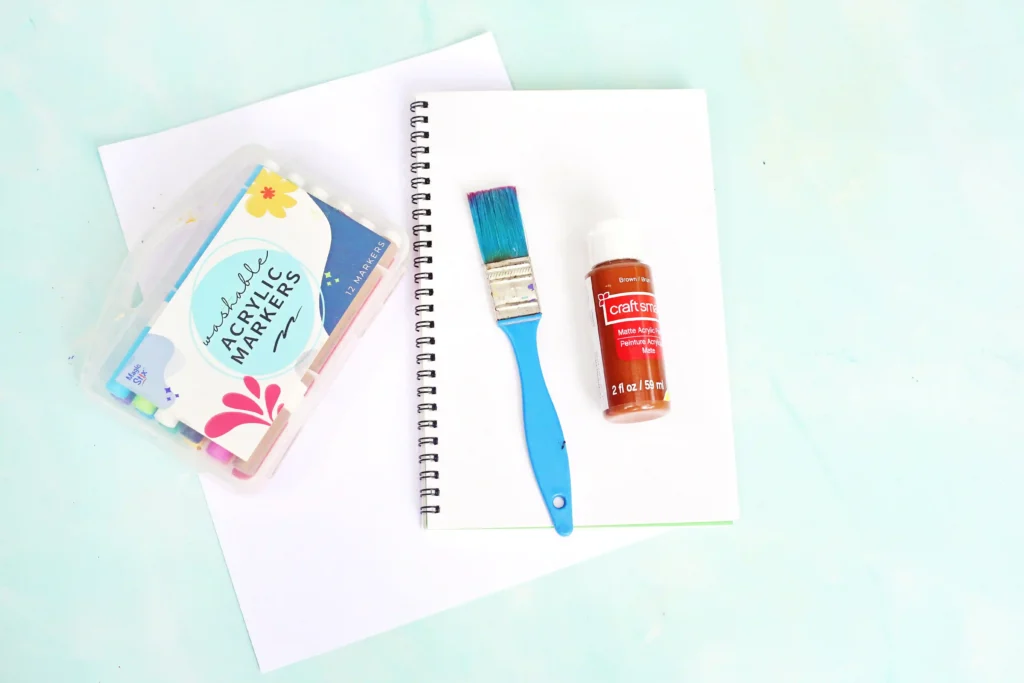
What You’ll Need For This Letter O Handprint Craft
Join the List
Subscribe
How to Make an O is for Owl Handprint
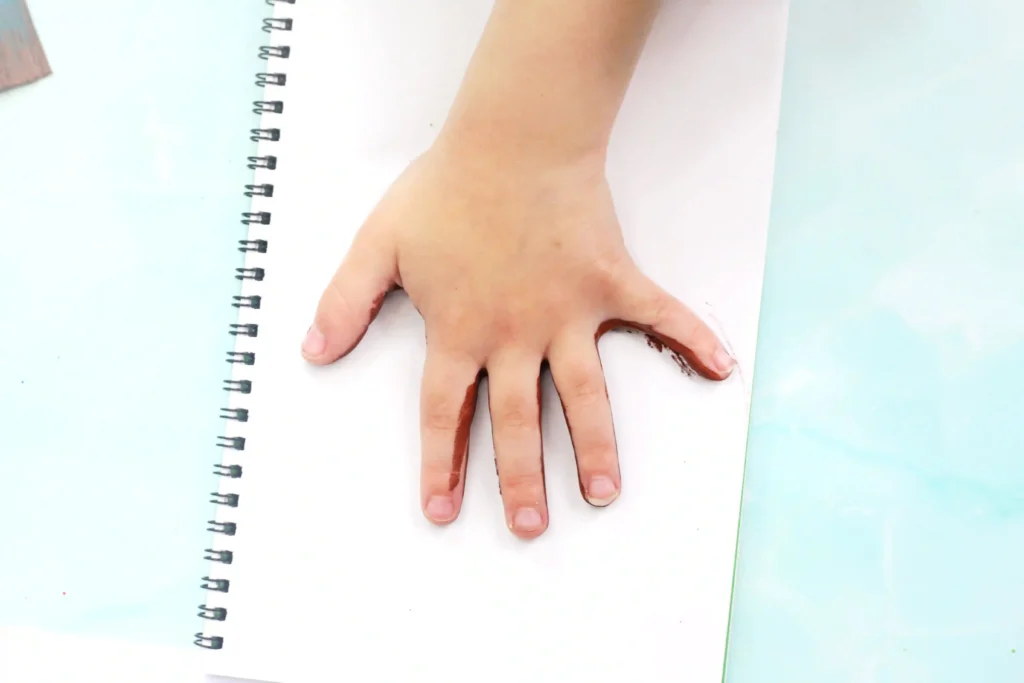
Step 1: Paint the Hand
Cover the palm and fingers with brown paint. Make sure the paint forms an even layer across the entire hand.
Step 2: Stamp the Handprint
Press the painted hand firmly onto white paper. Position the handprint so the fingers point downward. The palm forms the owl’s body, and the fingers create the tail feathers.
Allow the paint to dry completely before moving to the next step.
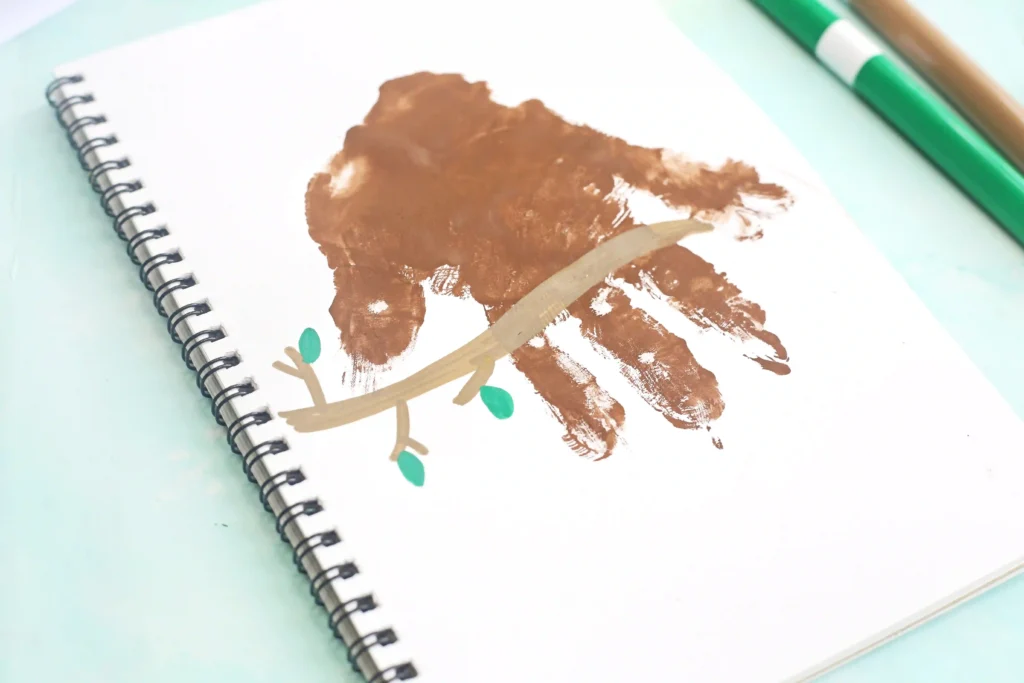
Step 3: Draw a Branch with Leaves
Using a brown marker, draw a branch across the lower section of the owl. Add smaller twigs extending from the branch.
Decorate the branch with green leaves to create a woodland setting.
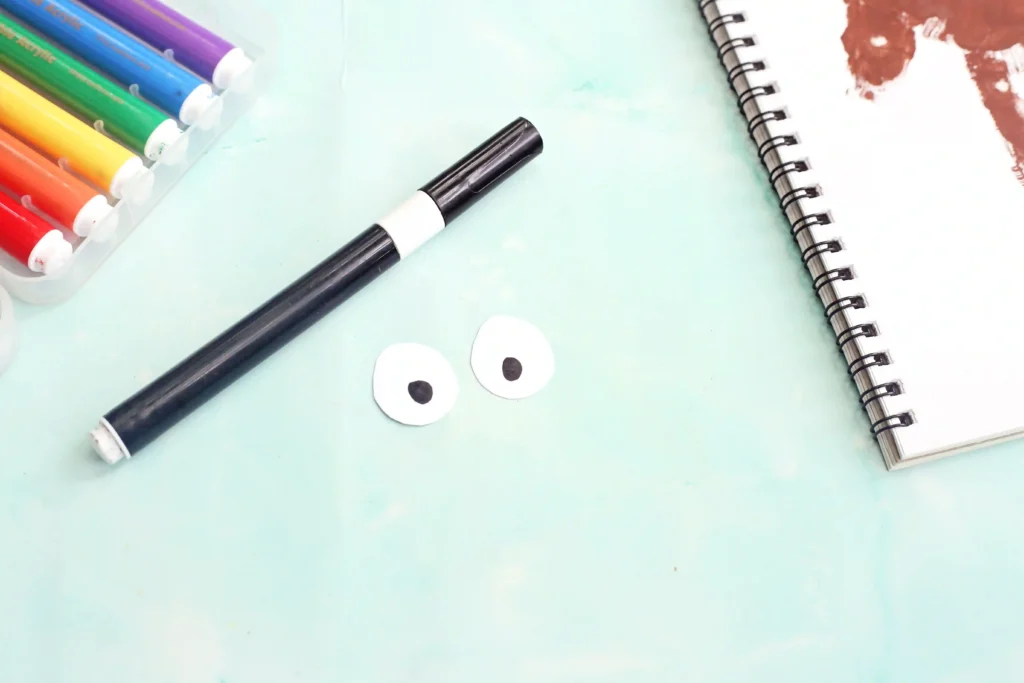
Step 4: Create the Owl’s Eyes
Cut two large white circles from paper. Glue the circles onto the upper portion of the handprint.
Draw black pupils in the center of each circle. Large eyes help give it the classic owl appearance.
Step 5: Add the Beak and Feet
Draw a small triangle-shaped beak between the eyes. A light orange color works well.
Add feet gripping the branch beneath the owl’s body. Small curved lines are enough to complete the look.
Step 6: Label the Craft
Write “O is for Owl” on the paper. This final step reinforces letter recognition and connects the craft to alphabet learning.
Benefits of Handprint Art Activities
Creating a letter O handprint craft offers several educational benefits beyond making a cute owl.
Fine Motor Development
Painting the hand, cutting circles, gluing pieces, and drawing details all help strengthen small hand muscles. These movements support writing readiness and everyday tasks requiring coordination.
Letter Recognition
Writing and repeating the phrase “O is for Owl” helps children associate the letter O with a recognizable word. Repetition supports early literacy development and alphabet recall.
Creativity and Self-Expression
Each owl turns out slightly different. Children may vary eye size, branch details, leaf placement, or drawing style. These choices encourage creative thinking and artistic confidence.
Sensory Exploration
The experience of painting and stamping introduces sensory elements that many children enjoy. The slick feeling of paint on the skin adds excitement to the activity.
Following Directions
Completing the project step by step helps children practice listening skills, sequencing, and task completion.
Extending the Learning Beyond the Craft
The fun doesn’t have to end once the paint dries. Several simple activities can expand the learning experience.
Read Books About Owls
Share nature books about owls or stories featuring owl characters. Discuss where owls live, what they eat, and how they hunt at night.
Learn Owl Facts
Introduce facts about different owl species. Compare sizes, colors, and habitats. Children will enjoy learning about how owls can fly silently.
Practice Letter O Words
Create a list of words beginning with O. Examples include owl, octopus, olive, orange, and ocean. Encourage children to identify the beginning sound in each word.
Observe Nature
Take a nature walk and look for birds, nests, trees, and leaves. Observing wildlife helps children connect classroom learning to the world around them.
Make an Owl-Themed Sensory Bin
Fill a sensory bin with natural materials such as leaves, pinecones, and small branches. Add owl figurines for imaginative exploration.
Creating Lasting Alphabet Memories
Handprint projects preserve a snapshot of childhood. This owl craft for kids combines literacy, art, and creativity in a single activity that children can proudly share.
As part of a larger collection of handprint art projects, this owl serves as a representation of the letter O. The painted handprint, leafy branch, large eyes, and simple details work together to create a project that is both educational and fun.
Adding this letter O handprint craft to an alphabet unit helps turn letter practice into an engaging hands-on experience while creating a keepsake worth saving.


Letter O Handprint Craft
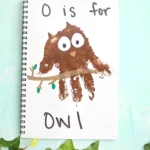
Turn a brown handprint into a cute owl perched on a leafy branch! This Letter O handprint craft combines painting, cutting, and early literacy fun.
- Prep Time: 15 + dry time
- Total Time: 15 + dry time
- Category: Alphabet, DIY, Handprint Craft
- Method: Step-by-Step
Materials
- Brown paint
- White cardstock or spiral notebook
- Paintbrush or sponge brush
- Markers
- Scissors
- Glue stick
- White paper
Instructions
Step 1: Paint the Hand
Cover the palm and fingers with brown paint. Make sure the paint forms an even layer across the entire hand.
Step 2: Stamp the Handprint
Press the painted hand firmly onto white paper. Position the handprint so the fingers point downward. The palm forms the owl’s body, and the fingers create the tail feathers.
Allow the paint to dry completely before moving to the next step.
Step 3: Draw a Branch with Leaves
Using a brown marker, draw a branch across the lower section of the owl. Add smaller twigs extending from the branch.
Decorate the branch with green leaves to create a woodland setting.
Step 4: Create the Owl’s Eyes
Cut two large white circles from paper. Glue the circles onto the upper portion of the handprint.
Draw black pupils in the center of each circle. Large eyes help give it the classic owl appearance.
Step 5: Add the Beak and Feet
Draw a small triangle-shaped beak between the eyes. A light orange color works well.
Add feet gripping the branch beneath the owl’s body. Small curved lines are enough to complete the look.
Step 6: Label the Craft
Write “O is for Owl” on the paper. This final step reinforces letter recognition and connects the craft to alphabet learning.



![green chocolate bark decorated to look like ]frankenstein](https://cultivatingbrilliantminds.com/wp-content/uploads/2026/09/IMG_5704-2-200x300.webp "Frankenstein Bark - Cultivating Brilliant Minds")
Leave a Reply