The Best Bunny Handprint Craft For Easter
February 23, 2026

There’s nothing like holding onto precious memories as your child grows that you can continue to look back on. Easter is a very popular holiday for many, but doesn’t allow for many keepsakes. The only memories of past Easters that I have as an adult is a few childhood photographs with the Easter bunny. This bunny handprint craft starts out as a fun, developmentally-friendly easter craft for kids, but turns into a beautiful keepsake that parents can save for years to come.
This post contains affiliate links. I earn a small commission if you choose to purchase, at no extra cost to you!

Kids grow up in the blink of an eye, and preserving their handprint as a child is a special memory that you can look back on long after the paint has dried. This bunny handprint craft combines sensory exploration, fine motor skills, and creativity into one simple Easter craft for kids.
Make Easter memorable with this letter from the Easter Bunny! Pop it in your child’s Easter basket or put it in an envelope and “mail” it.

Supplies Needed To Create This Bunny Handprint Craft

This handprint craft for Easter requires simple supplies that you most likely already own.
- Paint (Choose any colors you want – I mixed red, blue, and purple with white to make bright pastel colors for spring)
- Paintbrush
- White Paper – I used a thicker cardstock so the paint didn’t leak through)
- Scissors
- Pink and Black Markers
How To Make Your Own Bunny Handprint Craft

Step 1: Mix the paint (if necessary)
If you need to mix paint, do that first. I suggest mixing all the paint before you start making the handprint bunnies.
Step 2: Paint Hand
Using the paintbrush, paint your child’s entire hand, making sure to cover the whole hand. A thicker layer of paint is best to ensure no white spots show through, but be careful not to make it too thick or it will take a longer time to dry and may make your child’s hand slide when stamping it down on the paper.

Step 3: Stamp Hand
Stamp your child’s hand down on the white paper, leaving a space between the third of fourth fingers (middle and ring fingers) to make the ears. You may need to separate and hold their fingers while stamping. Ensure your child keeps their thumb tucked in close to their pointer finger. If a mistake is made and the thumb isn’t kept in close, you can always cut off the thumb in the next step.
Step 4: Let It Dry
Let the handprint dry fully before moving on to step 5 to ensure the paint won’t smear when cutting or drawing on the face.
Step 5: Cut It Out
Using scissors, cut around the handprint. Cut off the white space in between the fingers to make the bunny ears.

Step 6: Make It A Bunny
After your handprint is cut out, it’s time to create the bunny face! Using the pink marker, draw a bunny nose in the white space in the center of the palm. Then, use the black marker to draw eyes, a mouth, and whiskers. This step is open-ended and kids can decorate their bunny anyway they want!

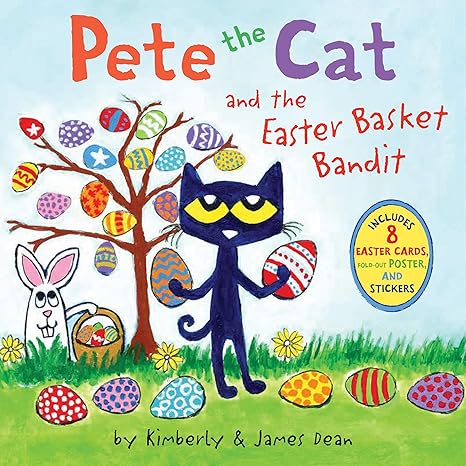
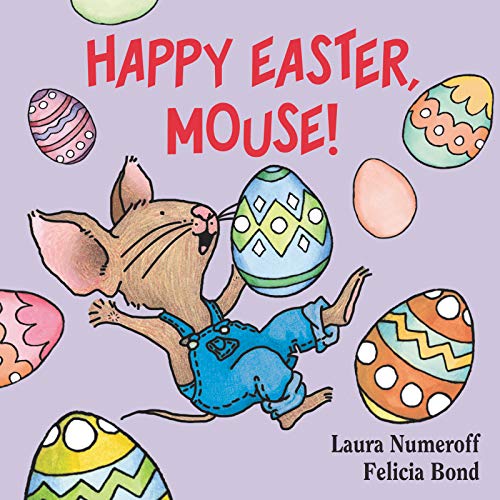
Easter Books To Read While Your Bunny Handprint Craft Dries


Fun Variations For This Bunny Handprint craft

To make this bunny handprint craft even better, try these fun variations:
- Add a fingerprint: Instead of using a pink marker for the nose, dip a finger into pink paint and stamp it on as the nose.
- Make it 3D: Add a 3D element by using a pink pom pom for the bunny nose. A white pom pom can be used on the back of the Easter craft for a cotton tail.
- Use different colors: Try switching up your paper and paint colors. Use a colored sheet of paper to create a white bunny with pink ears or a brown bunny with tan ears. The possibilities are endless.
Why Parents and Teachers Love This Easter Craft For Kids

The best part about this bunny handprint craft is that it works on building essential developmental skills while having fun. This handprint craft for Easter improves:
- Fine Motor Skills and Hand-Eye Coordination: Cutting and drawing improves hand-eye coordination and builds the muscles in the hands and fingers, improving fine motor skills.
- Sensory Exploration: Kids will get to explore various textures when having their hand painted and stamping it on the paper. Exploring different sensory input helps to improve brain connections, allows kids to better regulate emotions, and helps them learn about the world.
- Creative Expression: Choosing colors and decorations for their bunny handprint craft allows kids to get creative and express themselves through their art.

Aside from improving developmental skills, this craft is budget-friendly, using very simple supplies that many parents and teachers already own. There’s nothing worse than going to do a craft and realizing you don’t have all of the materials. This craft may look simple on the surface, but it is jam-packed with Easter fun that develops skills and will be remembered forever.
A Beautiful Keepsake To Celebrate Easter

This bunny handprint craft is just the beginning of a new Easter tradition. Families can continue each year, making more and more memories that can be looked back on for years. Making magical memories doesn’t have to break the bank – some simple supplies and a little imagination can create the the most meaningful activities.
More Easter Fun!
- The Best Easter Sensory Play Ideas For Kids
 From sensory bins to playdough trays, these Easter sensory play ideas will encourage curiosity, build fine motor skills, and increase imaginative play.
 - How To Make An Easter Playdough TrayThis Easter playdough tray combines sensory play with learning and creativity. This Easter sensory activity builds motor skills and explores sensory inputs.
- The Best Bunny Crafts For KidsThese bunny crafts for kids are the perfect Easter crafts! From moving bunnies to handprint bunnies, this list has all the best crafts!
- How To Make A Paper Bag Bunny Basket CraftThis budget-friendly paper bag bunny basket craft is an easy Easter craft for kids. Using simple supplies, kids will turn a paper bag into a cute Easter basket.
- How To Make A Bunny Handprint CraftThis bunny handprint craft transforms a simple handprint into a keepsake craft. Using simple supplies, parents and kids will love this easy Easter craft!
- How To Make A Dinosaur Easter Basket for KidsBuild a dinosaur Easter basket with a DIY dinosaur Easter egg, plush dino, themed toys, a book, and a printable Easter tag for a creative prehistoric surprise.
- How To Make A Rain Boots Easter Basket For KidsBright rain boots turn into a creative Easter basket for kids filled with toy garden tools, treats, DIY seed bombs, and a free printable Easter tag.
- How To Make A Chocolate Bunny Milkshake For EasterA chocolate bunny milkshake is a sweet celebration in a glass. This creamy chocolate treat topped with a candy bunny is a fun Easter recipe kids will love.
- Jelly Bean Bark: An Easy Easter Treat for KidsJelly bean bark is a simple Easter treat for kids made with melted chocolate, jelly beans, and sprinkles. This easy no-bake Easter recipe is colorful and fun.
- The Best Frozen Chick Rescue ActivityChildren melt yellow ice to rescue hidden toy chicks in this spring sensory play idea that blends hands-on science, fine motor skills, and discovery.
- How To Make Peeps Banana Pudding Mini PiesKids can help create adorable Peeps banana pudding mini pies with marshmallow bunnies. This easy Easter dessert for kids turns decorating into fun.
- How to Make a LEGO Easter Basket (Free Printable Tag)Build an unforgettable LEGO Easter basket with LEGO Easter sets, DIY LEGO Easter eggs, and a printable Easter tag. A creative idea for kids who love building.


Easter Learning Activities
Products by Category
-
Easter Board Games Math and Literacy Games Kindergarten First Grade
Original price was: $10.00.$6.00Current price is: $6.00. -

Easter Bunny Letter Printable For Kids | Girls, Boys | Easter Baskets | Egg Hunt | Easter Morning Surprise | Instant Download
$3.99 -
Easter Crown Craft Easter Activities Easter Crafts Easter Coloring Pages
Original price was: $3.00.$1.99Current price is: $1.99. -
Easter Tracing Sheets Tracing Worksheets Trace and Color Fine Motor Skills
$3.00


Leave a Reply